
Explore the Art of Candle Making: Join a Creative Candle Making Workshop
- Scribble On Me, LLC

- Jan 28
- 4 min read
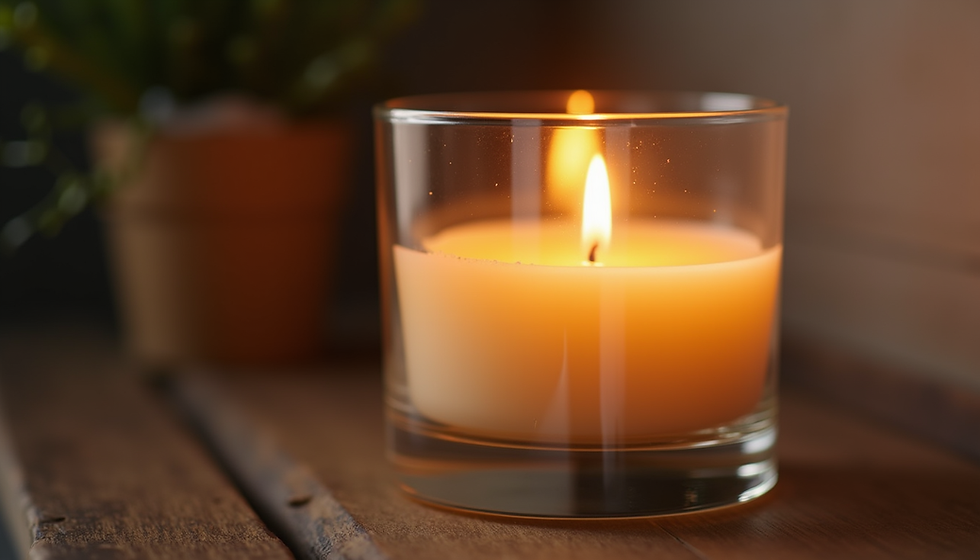
Candle making is more than a craft - it is an art form that combines creativity, science, and wellness. Have you ever wondered how to create your own personalized candles that not only light up a room but also enhance your mood and environment? If you are seeking a better product than what’s available on the market or want to explore a new hobby that promotes relaxation and mindfulness, candle making offers a rewarding solution.
Why Attend a Creative Candle Making Workshop?
A creative candle making workshop is an excellent way to dive into the world of candle crafting with expert guidance. Have you ever felt overwhelmed by the variety of waxes, wicks, and scents available? Workshops simplify this by providing hands-on experience and personalized advice.
In a workshop, you learn about:
Different types of waxes (soy, beeswax, paraffin, coconut)
Choosing the right wick size and material for your candle
Blending essential oils for aromatherapy benefits
Techniques for pouring and setting candles to avoid common issues like tunneling or uneven burning
By participating, you gain confidence and create candles tailored to your preferences. Plus, you get to connect with others who share your interest in fragranced personalized products.

If you want to explore this further, consider joining Scribble On Me candle workshop to experience the process firsthand.
Essential Materials and Tools for Candle Making
Starting candle making requires a few basic materials and tools. Here’s a straightforward list to get you going:
Wax - Soy wax is popular for its clean burn and eco-friendliness. Beeswax offers a natural scent and longer burn time.
Wicks - Cotton or wood wicks are common. The size depends on the candle diameter.
Fragrance oils or essential oils - Choose high-quality oils for better scent throw and aromatherapy benefits.
Containers or molds - Glass jars, tins, or silicone molds work well.
Double boiler or melting pot - For safely melting wax.
Thermometer - To monitor wax temperature.
Stirring utensils - Wooden sticks or metal spoons.
Pouring pitcher - For controlled wax pouring.
What is the 30 50 20 Rule for Candles?
The 30 50 20 rule is a guideline many candle makers use to balance the components of their candles for optimal performance:
30% Fragrance Oil - This ensures a strong scent throw without overpowering the wax.
50% Wax - The main body of the candle, providing structure and burn time.
20% Additives - These can include dyes, hardeners, or other agents to improve texture and appearance.
Applying this rule helps create candles that burn evenly, smell pleasant, and look professional. Have you tried adjusting your fragrance load before? Too much oil can cause poor burning or smoking, while too little results in weak scent.
Experimenting with this ratio in your next candle batch can improve your results significantly.
Step-by-Step Guide to Making Your First Candle
Ready to make your own candle? Follow these clear steps:
Prepare your workspace - Cover surfaces with newspaper or a silicone mat.
Measure wax - Calculate the amount needed based on your container size.
Melt wax - Use a double boiler and heat to about 170-180°F.
Add fragrance - Remove wax from heat and stir in fragrance oils at around 160°F.
Attach wick - Secure the wick to the container bottom using glue dots or wick stickers.
Pour wax - Slowly pour wax into the container, leaving some space at the top.
Secure wick - Use a wick holder or pencil to keep the wick centered.
Cool and cure - Let the candle cool at room temperature for several hours. Cure for 24-48 hours before burning.
This process is straightforward but requires attention to detail. Have you noticed uneven surfaces or sinkholes in your candles? These often result from pouring wax at the wrong temperature or cooling too quickly.

How to Customize Candles for Aromatherapy and Wellness
One of the most rewarding aspects of candle making is customization. You can tailor your candles to support holistic healing and enhance your environment.
Consider these tips:
Choose essential oils with therapeutic properties: Lavender for relaxation, eucalyptus for respiratory support, or citrus for energy.
Blend scents carefully: Use complementary oils to create balanced aromas.
Select natural waxes: Soy and beeswax are better for clean burning and reducing indoor pollutants.
Add natural colorants: Use herbs, spices, or natural dyes for subtle hues.
Experiment with wick types: Wood wicks create a soothing crackling sound, enhancing the sensory experience.
Are you currently using candles for aromatherapy? What scents do you find most effective? Customizing your candles allows you to create a product that aligns perfectly with your wellness goals.
Final Thoughts on Mastering Candle Making
Exploring candle making is a journey that combines creativity, science, and wellness. By understanding the materials, techniques, and principles like the 30 50 20 rule, you can craft candles that are both beautiful and beneficial.
If you want to accelerate your learning and enjoy a hands-on experience, I highly recommend attending Scribble On Me candle workshop. It’s an investment in your skills and well-being.
Are you ready to light up your space with personalized, high-quality candles? Start your candle making adventure today and discover the art that soothes the mind and brightens the home.


Comments